 Save
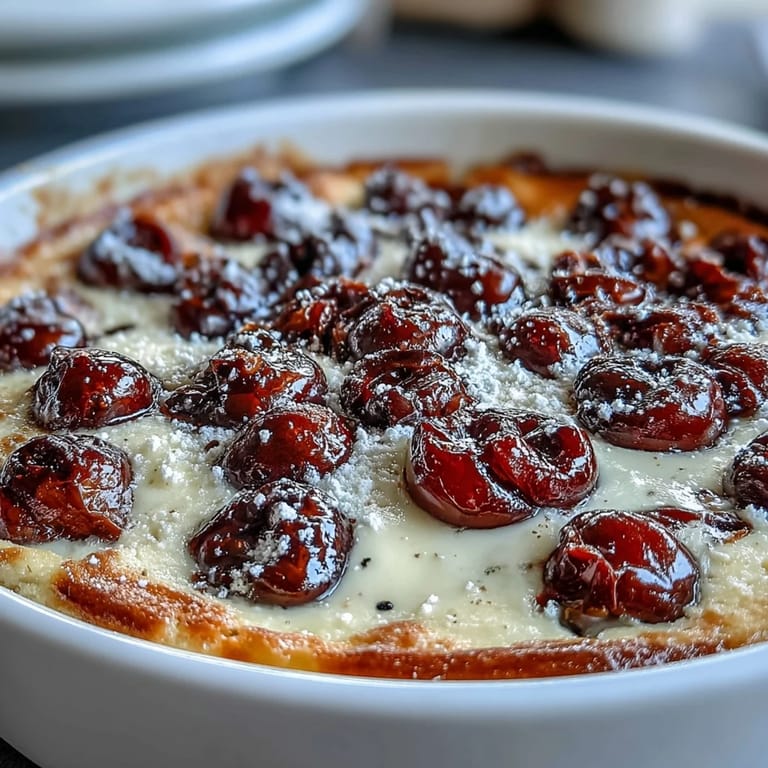
Save The first time I made cherry clafoutis, the summer air outside was thick with the scent of overripe fruit. My kitchen became an impromptu workshop of pitting cherries & scraping fragrant vanilla seeds, every surface sprinkled with a little chaos. There was something so meditative about whisking the eggs until they went glossy & pale, the anticipation of that gentle wobbly custard forming in the oven. The hardest part was resisting the urge to dip a spoon right in as soon as the dish emerged golden & puffed. Somehow, waiting those extra minutes for it to cool just slightly made it all the more satisfying in the end.
One late July afternoon, with a friend perched at the counter sipping chilled wine, we took turns pitting cherries—my hands sticky, hers covered in fruit stains. The gentle commotion of laughter & clinking bowls made the process feel like a summer ritual. She recounted a story about a Parisian bakery where the clafoutis was served slightly warm & always with a dusting of snow-white sugar. Our own version, fresh from the oven, was paired with nothing but animated conversation and the quiet satisfaction of making something so simple feel special.
Ingredients
- Fresh sweet cherries: The juiciness of fresh cherries transforms the custard, so always taste one first & use the best you can find.
- Large eggs: Room temperature eggs blend seamlessly into the batter for a silkier finish.
- Granulated sugar: I found that sifting the sugar with the eggs gives a lighter, more even custard texture.
- Vanilla bean: Scraping real seeds feels luxurious & makes the whole kitchen smell romantic, but a teaspoon of good extract works in a pinch.
- All-purpose flour: A light hand avoids any gumminess; sift before using if you can.
- Salt: Just a pinch sharpens the contrast of sweet cherries & creamy custard.
- Whole milk: The backbone of the custard; lower fat milk works, but the richness isn’t quite the same.
- Heavy cream: Even a small amount makes each bite feel a bit more decadent.
- Unsalted butter: Melted & cooled, it brings a gentle richness without overpowering the fruit.
- Butter for greasing: Don’t skimp on this or the custard might cling stubbornly to the dish.
- Powdered sugar: Dusting right before serving is the finishing touch that always feels just a little magical.
Tired of Takeout? 🥡
Get 10 meals you can make faster than delivery arrives. Seriously.
One email. No spam. Unsubscribe anytime.
Instructions
- Prepare your oven & dish:
- Set your oven to 180°C (350°F), then slather a 24 cm round baking dish with plenty of butter so nothing sticks.
- Scatter & settle the cherries:
- Tumble the pitted cherries in the dish so every slice gets a generous share of fruit.
- Whisk eggs & sugar:
- Beat the eggs with the sugar until the mixture looks creamy & a shade paler, feeling a little pride in catching that perfect texture.
- Add vanilla, flour, & salt:
- Drop in the vanilla seeds, then slowly whisk in the flour & salt until your batter runs smooth & free of clumps.
- Build the custard:
- While whisking, gradually pour in the milk, cream, & lastly the melted butter, watching for a batter that's pourable but still a bit thick.
- Pour over cherries:
- Gently pour the batter over the cherries, letting everything settle without disturbing the fruit arrangement too much.
- Bake to perfection:
- Slide the dish onto the middle rack & bake for 35–40 minutes; you'll know it's ready when puffed, souffléd, & just set in the center.
- Let it cool & finish:
- Patience is key—let the clafoutis cool for about 15 minutes, then dust generously with powdered sugar right before serving.
- Serve & savor:
- Enjoy it warm or at room temperature, preferably with good company.
 Save
Save 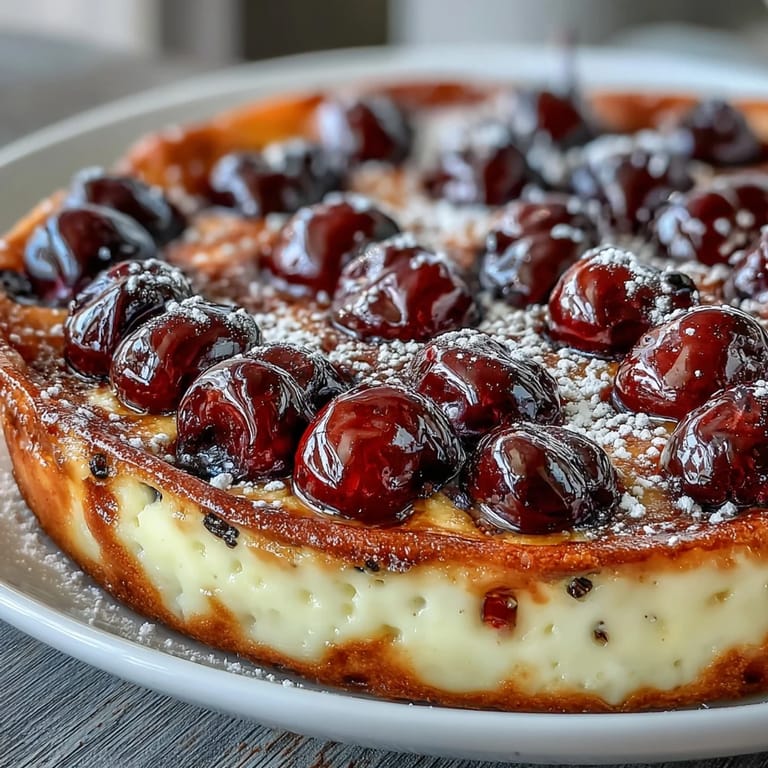 Save
Save The year my cousin visited from Marseille, she insisted on leaving the cherry pits in for tradition and an impossible-to-describe hint of almond. That mundane July lunch became something quietly memorable as we warned each other, half laughing, with every bite: mind the pits. Dessert never felt so playful, or tasted so much like summer.
Choosing the Best Cherries
I’ve found that the deeper the red on a cherry, the richer the flavor turns out in the final bake. Local farmers markets often have the best selection, but even supermarket cherries can surprise if you taste them first—avoid any that feel mushy or bland since they’ll only fade in the custard.
Making It Your Own
It’s a breeze to swap the cherries for halved apricots or plump plums when the mood or market offerings shift. I sometimes use a bit of almond extract alongside the vanilla & it gives the whole dessert a nuanced, classic flavor that earns extra praise with almost no effort.
Troubleshooting Common Clafoutis Mistakes
If your clafoutis ends up a bit rubbery or underdone, you’re definitely not alone—I’ve landed on both sides. The key is mixing the batter until just smooth & baking until the center gently jiggles and the edges are golden brown.
- If the top gets too brown, loosely cover with foil midway through baking.
- Check doneness by pressing near the center—it should feel springy, not gooey.
- Let the clafoutis sit before dusting and serving: this isn’t a race.
 Save
Save 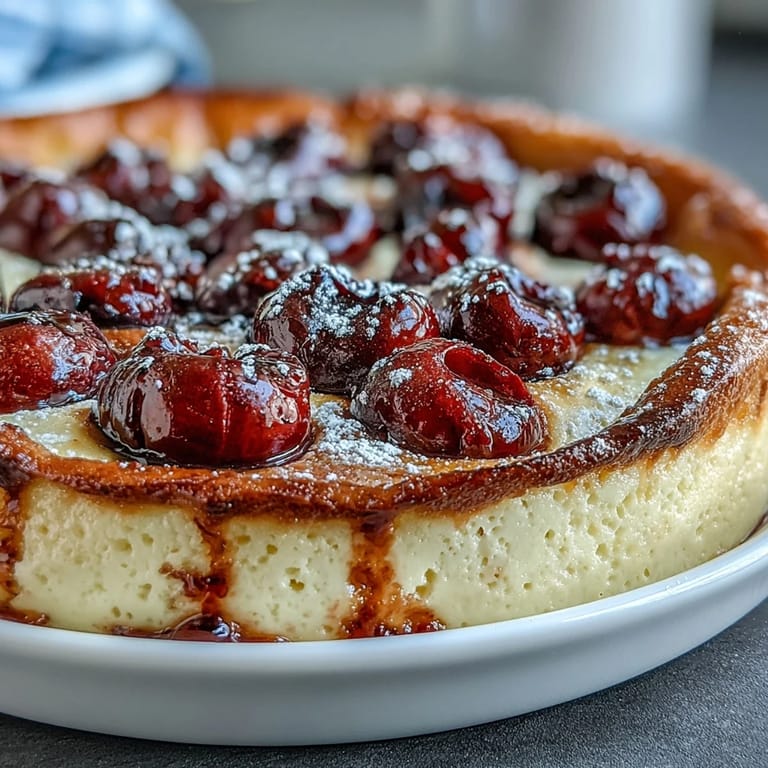 Save
Save Whether you serve it with coffee on a lazy morning or as an unfussy dessert after dinner, cherry clafoutis always shines most when shared. Here’s to delighting in the simple things—one cherry-stained bite at a time.
Q&A About the Recipe
- → Can I leave the cherry pits in for a more traditional result?
Yes. Leaving pits intact adds a subtle almond-like note to the custard, but warn diners and remove any obvious stones after baking. If serving family or children, pitting is safer and more convenient.
- → How do I know the custard is properly set?
The clafoutis should be puffed and lightly golden around the edges with a slight wobble in the center; it will continue to set as it cools. Avoid overbaking to keep a tender, custardy texture.
- → Can I use frozen cherries instead of fresh?
Yes. Thaw and drain frozen cherries well, then pat dry to remove excess moisture. You may need a shorter bake or slightly thicker batter to prevent the custard from becoming too loose.
- → How can I adapt this for gluten-free diets?
Use a 1:1 gluten-free flour blend or finely ground almond flour, keeping an eye on batter consistency. You may need to adjust liquid slightly to achieve the same pourable texture.
- → What are good make-ahead and storage tips?
Bake and cool completely, then cover and refrigerate for up to 2–3 days. Reheat gently in a low oven to revive the texture, or serve chilled. Dust with powdered sugar just before serving.
- → Can I substitute the dairy components?
Whole milk and cream give the best custard richness. For dairy-free options try full-fat oat or canned coconut milk, though flavor and set will vary; use a higher-fat alternative for a similar texture.
- → What are ideal serving suggestions and pairings?
Serve warm or at room temperature with a light dusting of powdered sugar. Pairs beautifully with a chilled dessert wine like Sauternes or a simple espresso to balance the sweetness.