 Save
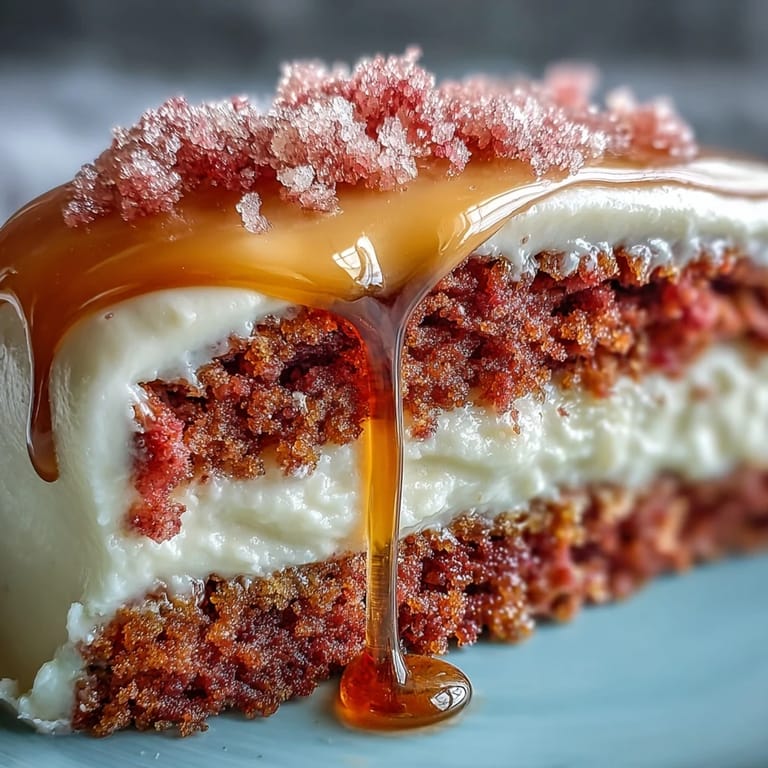
Save When I first planned my sister's bridal shower, I wanted something that felt as special as the occasion, and that's how this Rosé Velvet Cake was born out of a flurry of inspiration (and maybe a few kitchen spills). The soft blush of the sponge caught my eye as it emerged from the oven, shimmering slightly as if blush-worthy itself. I still remember the subtle aroma of fruity wine rising as it baked, mingling with the scent of warm vanilla and melted butter. Finishing the cake with a glossy gold drip was almost meditative, quieting the pre-party chaos for just a moment. Bringing such an elegant cake to life felt like a small celebration before the real festivities even began.
The last time I made this cake, my kitchen was filled with laughter as my best friend helped frost the layers between sips of rosé—the music was playing, and we couldn't resist licking the beaters. We got icing everywhere, but our pink-stained fingers only added to the sense of occasion. Frosting the chilled cake together, we debated whether to add edible flowers or just let the gold shimmer speak for itself. We opted for both, because why not? Sharing the first slice right off the cake stand felt almost rebellious, and that's a little tradition I never want to give up.
Ingredients
- All-purpose flour: Sifting the flour first gives a lighter crumb and keeps the layers tender.
- Cornstarch: Just a bit helps soften the cake without making it fragile.
- Unsweetened cocoa powder: The whisper of cocoa gives depth; Dutch process looks the prettiest.
- Baking soda: Essential for lift—don’t skip or your layers may fall a bit flat.
- Salt: Balances the sweetness and sharpens all the flavors.
- Unsalted butter: Cream it until really fluffy for that plush texture.
- Granulated sugar: The main sweetener that also helps with structure.
- Light brown sugar: Adds a touch of caramel warmth and softness.
- Large eggs: Room temperature eggs blend better and make the cake fluffier.
- Rosé wine: Use a fresh, fruity rosé; I once tried cheap wine, and regretted it.
- Buttermilk: The acidity is crucial for a gentle, tender crumb—don’t skip or swap with plain milk.
- Vanilla extract: So much more than background flavor; I always sneak in an extra splash.
- Pink gel food coloring: Optional, but it delivers that unmistakable celebratory blush.
- Cream cheese (for frosting): It must be very soft for the frosting to go silky smooth.
- Confectioners' sugar: Always sift it or your frosting may get lumpy.
- White chocolate chips (for drip): If using bars, chop them fine for easy melting.
- Heavy cream: This creates the right drip consistency—use full fat, nothing lighter.
- Edible gold luster dust: A little goes a long way for drama; I prefer using a small, clean brush.
- Clear vodka or lemon extract: Either works to create that dazzling gold paint.
Tired of Takeout? 🥡
Get 10 meals you can make faster than delivery arrives. Seriously.
One email. No spam. Unsubscribe anytime.
Instructions
- Get Ready to Bake:
- Preheat your oven to 350°F (175°C) and prepare three 8-inch pans by greasing and lining with parchment.
- Sift and Combine:
- Whisk together the flour, cornstarch, cocoa powder, baking soda, and salt until a soft cloud forms—set aside.
- Butter and Sugar Magic:
- Cream your butter and both sugars on medium until pale and noticeably fluffy—it should hold swoops from the mixer.
- Add the Eggs and Vanilla:
- Drop in your eggs individually, blending after each, followed by a generous splash of vanilla.
- Rosé-&-Buttermilk Fusion:
- In a separate jug, stir together the rosé wine and buttermilk; the color turns softly pink and smells like spring.
- Combine Dry and Wet:
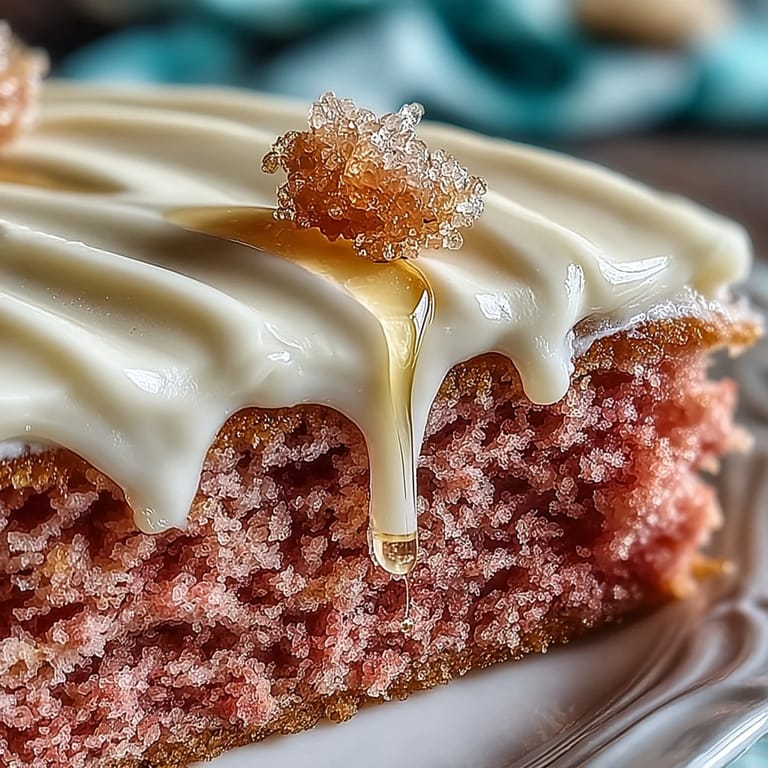
- On low speed, alternate between flour mix and rosé-buttermilk, starting and finishing with flour—add just enough pink coloring for your perfect hue.
- Fill and Bake:
- Evenly spread the batter in your pans and gently tap out any air bubbles; bake 28–32 minutes until springy and a skewer comes out clean.
- Cooling Ritual:
- Let cakes cool in their pans 10 minutes, then flip onto racks and let them cool fully—resist the urge to frost while warm!
- Frosting Time:
- Beat the cream cheese and butter until light, then slowly work in the confectioners’ sugar, vanilla, and a pinch of salt until fluffy and ready to spread.
- Layer and Chill:
- Spread frosting generously between layers and around the edges, smoothing as you go; chill the assembled cake for 30 minutes so it sets.
- Gold Drip Drama:
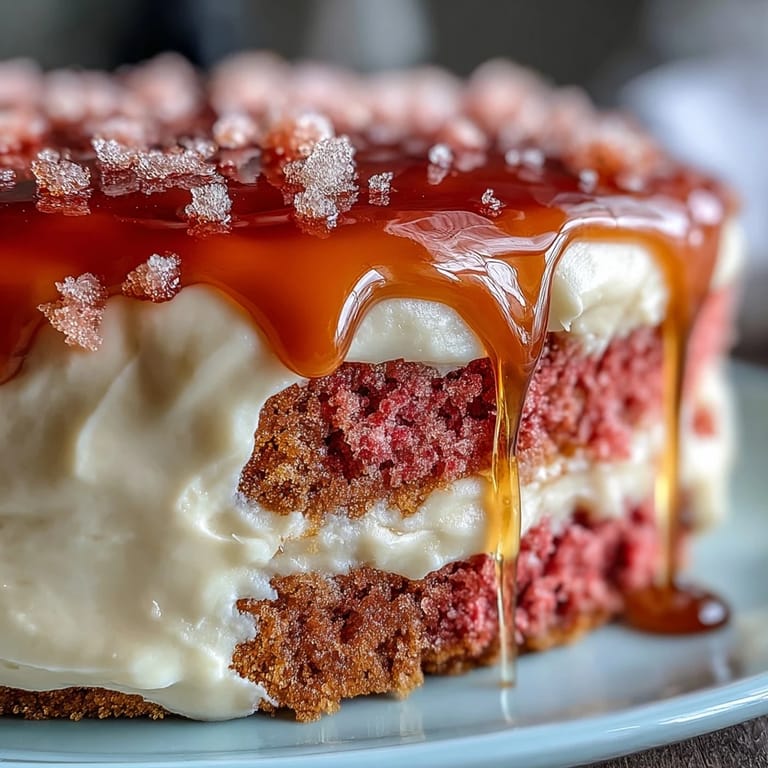
- Melt the white chocolate chips with heavy cream to make a silky ganache, and spoon it along the top edges so it cascades down in gentle drips—chill again to set.
- Paint it Gold:
- Mix gold luster dust with a few drops of vodka or lemon extract, and once the ganache is set, brush on the gold for a luminous finish.
- Final Flourish:
- If you’re feeling fancy, crown your cake with edible flowers or flakes of gold leaf for extra celebration sparkle.
 Save
Save 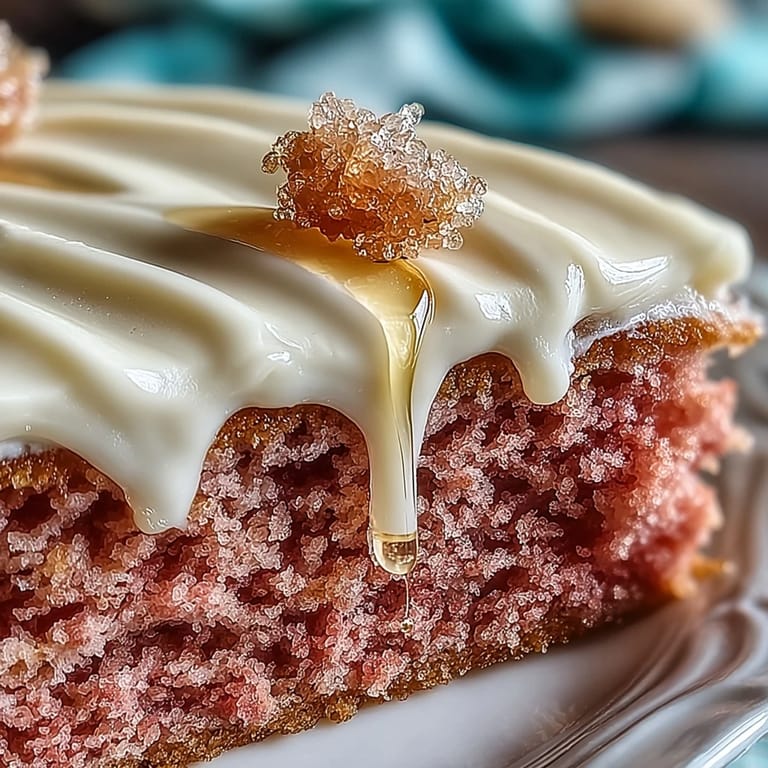 Save
Save The best moment came when everyone gathered around to photograph the cake, but what made me so happy was watching the bride-to-be sneak a playful swipe of frosting before anyone could slice it—her laughter is what I remember most. For a fleeting moment, the room was all giggles and glimmering gold, making memories that still make me smile.
How to Get the Perfect Rosé Pink Hue
I've found that starting with a drop of gel food coloring rather than squeezing in too much at once gives you better control over the blush shade. The rosé alone imparts a delicate tone, so tiny increments of color are all you need for that perfect pastel pink.
Making the Gold Drip Like a Pro
Make sure your white chocolate drip cools for two or three minutes before spooning it onto the cake; warm ganache flows too quickly and may pool on your platter. Take your time when painting the gold — let each drip set so you get crisp, regal lines instead of blurry streaks.
Serving and Presentation for Special Occasions
The cake is a showstopper just as it is, but placing it on a simple white pedestal with a scattering of edible flowers or fresh berries adds an extra touch of celebration. If you're feeling creative, pipe a bead of frosting along the base for a polished finish.
- Chill your cake before slicing so you get neat, gorgeous layers.
- Have a damp cloth nearby—gold luster dust has a sneaky way of traveling.
- Let the cake reach room temperature before serving for the best flavor.
 Save
Save 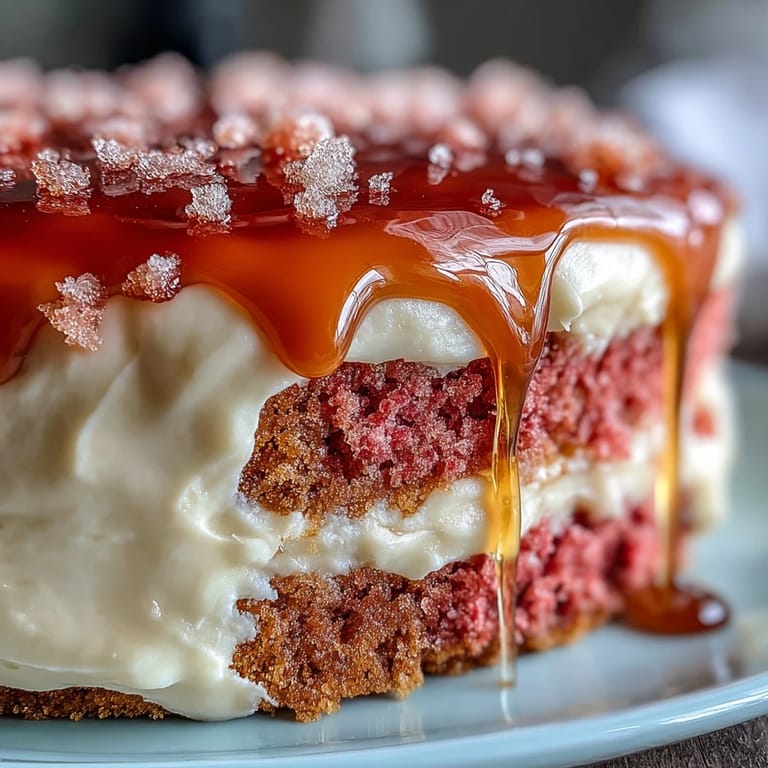 Save
Save I hope this bridal shower cake brings as much sparkle and joy to your celebration as it has to mine. Every slice seems to come with its own golden little memory—enjoy it!
Q&A About the Recipe
- → Can I omit the alcohol without losing flavor?
Yes. Swap rosé for high-quality pink grape juice or sparkling apple cider to retain a fruity note. Reduce any added liquid slightly if the substitute is much sweeter to keep batter consistency.
- → How do I get an even pink hue without overusing food coloring?
Use a small amount of concentrated gel color and add gradually until you reach the desired blush. Natural blush can be enhanced by using a touch more cocoa powder and rosé for depth without heavy dye.
- → What keeps cream cheese frosting stable for assembly and decoration?
Use full-fat cream cheese and chilled butter, whip until smooth, then chill the frosting briefly before spreading. Keep the assembled cake refrigerated between decorating steps to firm up layers and maintain clean edges.
- → How do I achieve a smooth gold drip that sets nicely?
Heat white chocolate and cream gently until glossy and slightly thickened, cool to a pourable but not runny temperature, then drip around the chilled cake edge. Allow the ganache to set before brushing with gold luster mixed with a clear spirit or extract.
- → Can I make the cake ahead of time?
Yes. Bake layers and wrap them tightly once cooled; they keep for 2–3 days refrigerated or can be frozen. Prepare frosting and ganache ahead, then assemble and decorate on the day for best texture and appearance.
- → Any tips for even layers and consistent baking?
Weigh batter and divide evenly between pans, tap pans to remove air, and bake until a toothpick comes out clean. Rotate pans halfway through if your oven has hot spots, and cool in pans briefly before turning out to avoid breakage.