 Save
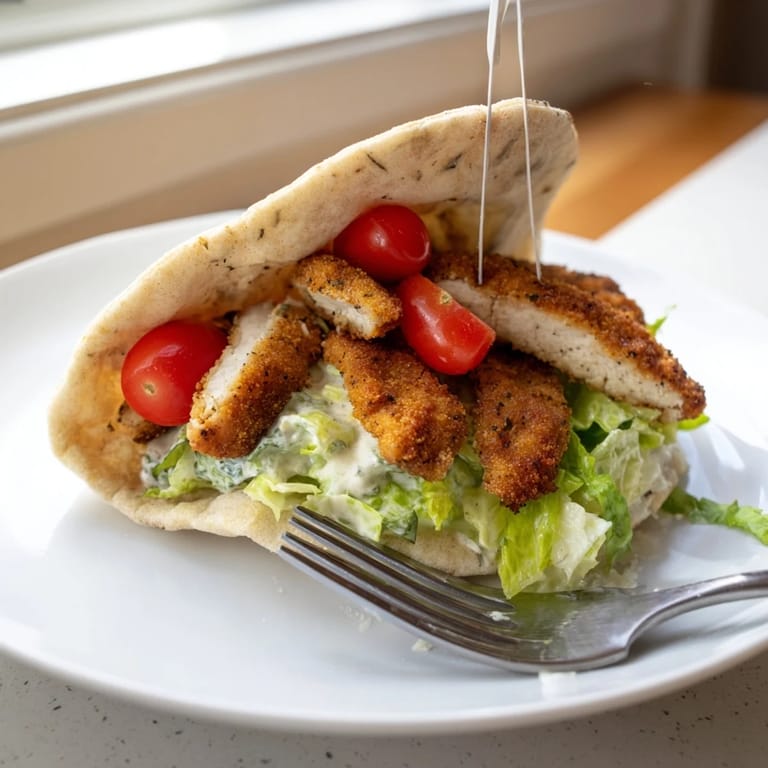
Save The first time I made these chicken pitas, my kitchen smelled like an Italian restaurant had taken up residence in my apartment. That crispy, herbed crust hitting the hot pan released this incredible aroma of garlic, oregano, and toasting Parmesan that had my roommate wandering in from the living room with wide eyes. We ended up eating standing up at the counter because waiting for plates seemed pointless once that golden chicken emerged from the skillet.
Last summer, I started making these for quick weeknight dinners when my sister came over after work. Wed sit on the back porch with these pitas, catching up on our days while lemon juice dripped onto our plates. Something about the combination of warm bread and crisp vegetables made even the most exhausting Tuesday feel like a small celebration.
Ingredients
- 2 large boneless skinless chicken breasts: Slice them horizontally before cooking so they cook evenly and fit perfectly inside those pita pockets
- 1 cup panko breadcrumbs: These Japanese breadcrumbs create this incredibly light, shatteringly crispy crust that regular breadcrumbs just cant match
- 1/2 cup grated Parmesan cheese: The saltiness here pairs perfectly with the herbs and adds umami depth to the crust
- 1 tablespoon chopped fresh parsley: Fresh herbs bring brightness that dried ones cant achieve alone
- 1 teaspoon dried oregano: This gives you that classic Mediterranean flavor profile
- 1 teaspoon dried basil: Sweet and aromatic, this complements the oregano beautifully
- 1/2 teaspoon garlic powder: Distributes garlic flavor evenly throughout the crust without burning like fresh garlic might
- 1/2 teaspoon salt: Essential for bringing out all the flavors
- 1/4 teaspoon black pepper: Adds just enough warmth and complexity
- 1/2 cup all-purpose flour: The first layer of coating helps the egg wash adhere better
- 2 large eggs: These act as the glue that binds everything together
- 2 tablespoons milk: Thinning the eggs slightly makes them coat the chicken more evenly
- 3 tablespoons olive oil: Just enough to get that gorgeous golden color without deep frying
- 4 cups chopped romaine lettuce: Crisp and refreshing, it stands up beautifully to the warm chicken
- 1/3 cup Caesar dressing: Creamy, tangy, and absolutely essential
- 1/4 cup shaved Parmesan cheese: Those delicate curls melt slightly against the warm chicken
- 1/2 cup cherry tomatoes halved: They add bursts of sweetness and color that brighten the whole assembly
- 4 large pita breads: Get the pocket kind so you can stuff them without everything falling apart
- Lemon wedges: A squeeze of fresh acidity cuts through all that richness
Tired of Takeout? 🥡
Get 10 meals you can make faster than delivery arrives. Seriously.
One email. No spam. Unsubscribe anytime.
Instructions
- Prepare the chicken cutlets:
- Place each chicken breast on a cutting board and carefully slice horizontally through the middle to create two thinner pieces. Pound them lightly with a meat mallet or rolling pin until theyre an even thickness.
- Set up your breading station:
- Get three shallow bowls ready. Put flour in the first one, whisk the eggs with milk in the second, and mix the panko, grated Parmesan, parsley, oregano, basil, garlic powder, salt, and pepper in the third. This assembly line approach makes the process so much smoother.
- Bread the chicken:
- Dredge each cutlet in flour, shaking off the excess. Dip it into the egg mixture, letting any extra drip off, then press it firmly into the panko mixture. Make sure the coating adheres well on both sides.
- Cook to golden perfection:
- Heat olive oil in a large skillet over medium heat. Add chicken and cook for 3 to 4 minutes per side until the crust is deep golden and the chicken is cooked through. Transfer to paper towels to drain.
- Warm the pitas:
- Toss them in a dry skillet or warm oven for just a minute or two. This makes them more flexible and prevents cracking when you fold them.
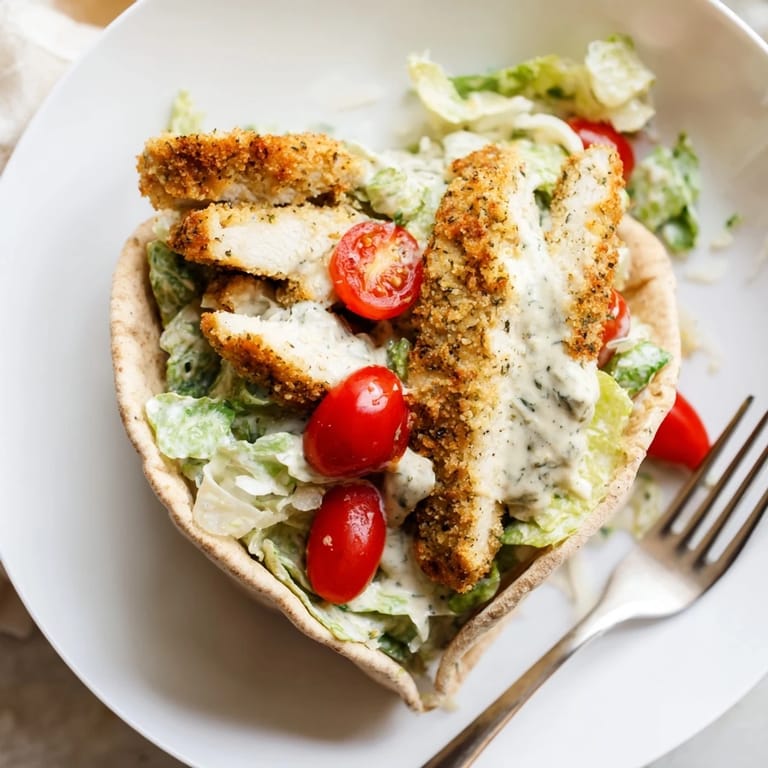
- Prepare the Caesar salad:
- Toss the romaine with dressing and shaved Parmesan in a large bowl. Add those cherry tomatoes if you went that route.
- Slice the chicken:
- Cut each cutlet into strips that will fit comfortably inside the pita pockets.
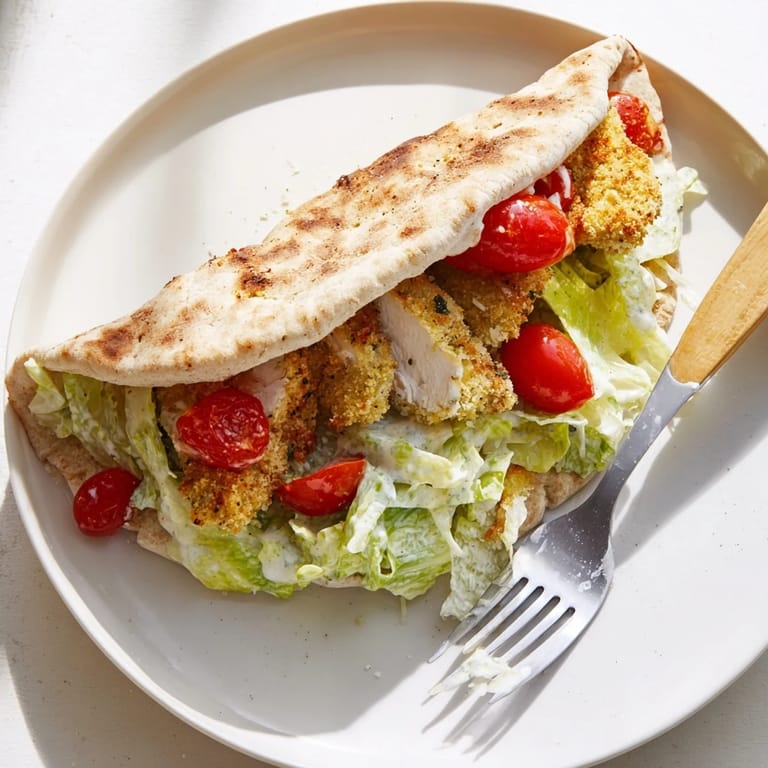
- Assemble the pitas:
- Cut each pita in half and gently open the pockets. Stuff with some Caesar salad first, then tuck in the chicken strips.
- Serve it up:
- Get them to the table while the chicken is still warm and crispy, with lemon wedges on the side for squeezing.
 Save
Save These pitas became my go-to comfort food during a particularly stressful month at work. Something about the combination of textures and flavors felt like a hug in food form, and the fact that I could make them quickly on a weeknight meant I actually took time to sit down and eat properly.
Making Ahead
You can bread the chicken cutlets up to four hours ahead and keep them refrigerated on a parchment lined baking sheet. The Caesar dressing gets even better after a day in the fridge, so mixing it up the night before works beautifully. Just do not assemble everything until you are ready to eat or you will lose that crucial hot-cold contrast.
Customization Ideas
Sometimes I add crispy bacon or sliced avocado inside the pita for extra richness. Grilled chicken works perfectly if you want to skip the frying step, and a sprinkle of crushed red pepper flakes in the breading adds just enough heat to make things interesting.
Serving Suggestions
These pitas are surprisingly filling on their own, but a simple cucumber salad with vinegar and oil makes a nice light side. If you are feeding a crowd, cut the assembled pitas into smaller wedges and serve them as handheld appetizers.
- Warm extra pita triangles and serve them on the side for scooping up any falling salad ingredients
- Keep extra lemon wedges at the table so everyone can adjust the acidity to their taste
- Have napkins ready because these are gloriously messy in the best way possible
 Save
Save There is something deeply satisfying about food you can eat with your hands, especially when it is this delicious. Hope these become a regular rotation in your kitchen too.
Q&A About the Recipe
- → How do I keep the pita pockets from tearing?
Warm the pita breads in a dry skillet or oven for 1-2 minutes before filling. This makes them soft and flexible, reducing the chance of tearing when you add the salad and chicken.
- → Can I make the chicken ahead of time?
Yes, cook the chicken cutlets and store them in the refrigerator for up to 2 days. Reheat in a 350°F oven for 10 minutes to restore crispiness before assembling the pitas.
- → What's the best way to get extra crispy chicken?
Press the panko mixture firmly onto the cutlets to ensure even coating. Make sure the oil is hot before adding the chicken, and avoid overcrowding the skillet so each cutlet gets proper contact with the heat.
- → Can I use store-bought Caesar dressing?
Absolutely. Store-bought Caesar dressing works perfectly in this dish. Look for a creamy dressing with goodParmesan flavor to complement the seasoned chicken.
- → What sides go well with these pitas?
These pitas are quite filling on their own, but you can serve them with extra Caesar salad on the side, roasted vegetables, or soup for a complete meal. Fresh fruit also makes a nice light dessert.
- → How do I know when the chicken is cooked through?
The chicken is done when it reaches an internal temperature of 165°F. Visually, the crust should be golden brown and the chicken should feel firm when pressed gently. Cutting into the center should reveal opaque, cooked meat with no pink.